If you type strength training for beginners into a search bar, you’ll get thousands of routines, rules, and hot takes. This guide cuts through the noise with a simple promise: you’ll get a realistic 12‑week plan, clear exercise cues you can remember under the bar, and practical ways to keep going when life gets messy. You won’t see quick‑fix language here—just steady progress you can feel and measure.
strength training for beginners: your 12‑week roadmap
The most common mistake in a first program is trying to do everything at once. The second mistake is doing almost nothing consistently. Your 12‑week roadmap solves both by focusing on four levers you can actually control: movement quality, repeatable sessions, gradual loading, and recovery habits. Each lever supports the others. You don’t need exotic exercises or expensive gear; you need a plan that keeps you showing up, plus a system for measuring the work you did.
Here’s the approach in plain terms:
- Frequency: three full‑body sessions per week (e.g., Mon/Wed/Fri). That spacing lets you practice lifts often and arrive recovered enough to perform them well.
- Structure: each session uses one lower‑body push, one hip hinge, one upper push, one upper pull, plus a core finisher. You’ll rotate a few simple variations so your joints and mind don’t get stale.
- Progression: add a small amount of volume or load most weeks. No leaps; just nudges. If your form slips, hold the increase or back off a notch and own the current step.
- Recovery: sleep, an easy walking habit, and reasonable protein intake—enough to support training without turning nutrition into a second job.
Why 12 weeks works for true beginners
Twelve weeks is long enough to build repeatable habits and see measurable change in coordination, strength, and confidence, yet short enough to feel achievable. Many beginners notice early improvements from simply practicing good technique and lining up similar sessions week after week. This timeline also leaves room for a couple of off‑days or a busy week without derailing the entire plan. If you miss a workout, you don’t “restart”; you continue where you left off and keep stacking small wins.
Baseline checklist before you begin
- Decide your training slots (e.g., Mon/Wed/Fri 6:30–7:30 p.m.). Put them on your calendar as you would any appointment.
- Gather basic gear (see next section). Lay it out the night before your sessions.
- Create a simple log template: date, session A/B/C, exercises, sets × reps × load, rest, notes.
- Pick two non‑scale metrics to track (e.g., push‑ups on an elevated surface, goblet squat load, or farmer carry distance).
- Agree with yourself on a minimum: even on rough days, you’ll complete the first two lifts with clean form.
Equipment checklist: start simple
Fancy hardware won’t teach you to move well. A small kit can take you far, especially in the first months when practice matters most. You can train in a basic gym or at home with a few swaps.
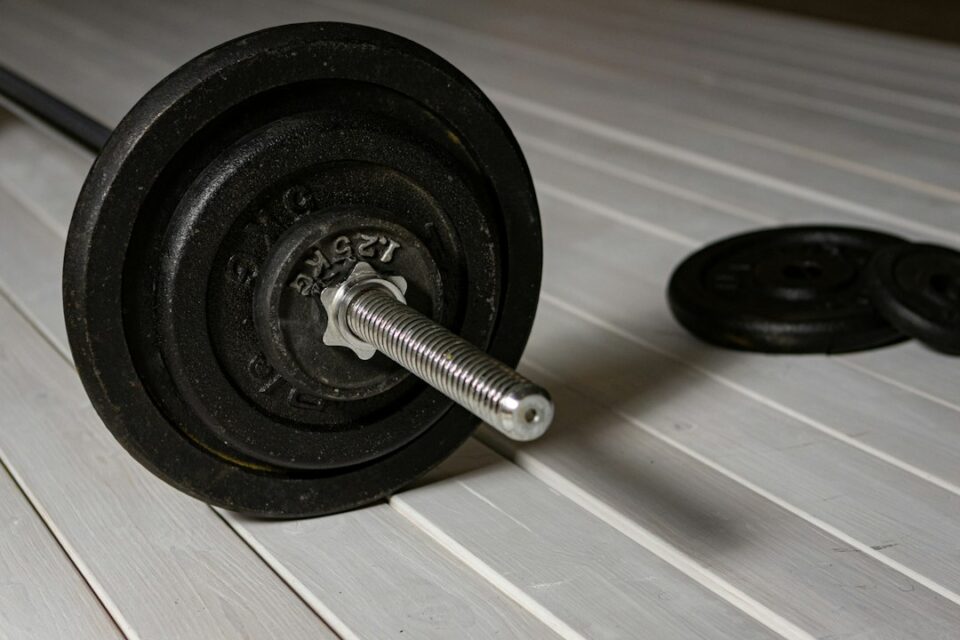
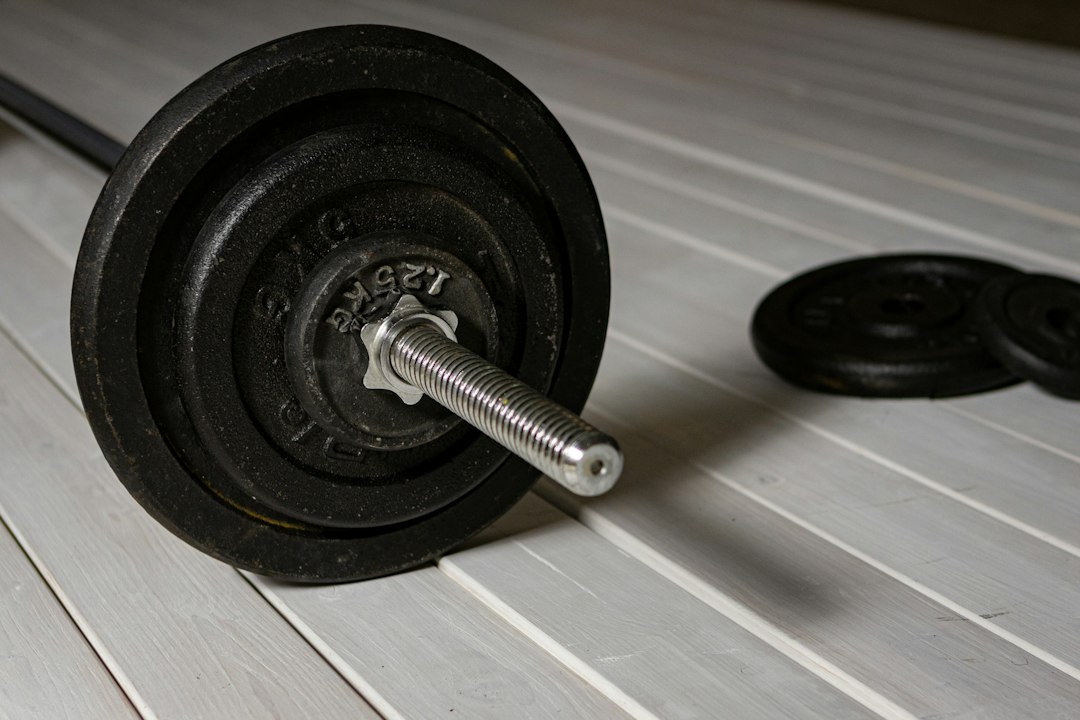
- Barbell and plates: ideal for learning squats, deadlifts, and presses. If a barbell isn’t available, use dumbbells or kettlebells.
- Dumbbells: a pair of light‑to‑moderate sets (e.g., 10–35 lb range depending on your current strength) covers presses, rows, lunges, and carries.
- Kettlebell: one moderate bell (e.g., 12–20 kg) for swings, goblet squats, and carries.
- Adjustable bench: helpful for presses and rows but not mandatory.
- Pull‑up bar or cable station: for pulldowns or assisted pull‑ups. A sturdy doorframe pull‑up bar can work.
- Loop bands: for assistance, warm‑ups, and simple resistance work.
- Timer and notebook (or an app): track sets, reps, load, and rest.
You can complete all 12 weeks with dumbbells if needed. The movements matter more than the implements. If a piece of equipment is busy, choose the nearest cousin: goblet squat instead of back squat, Romanian deadlift instead of conventional deadlift, dumbbell bench press instead of barbell press, one‑arm rows instead of cable rows.
Optional niceties that help
- Microplates or fractional dumbbells for small load jumps.
- Chalk or lifting straps for hinge days if grip is the limiting factor.
- Elevated heel wedge for squats if ankle mobility makes depth uncomfortable.
- A simple tripod to record your sets for quick form review.
Budget home setup in one purchase
If you prefer to train at home, a cost‑effective starter kit is a pair of adjustable dumbbells, one medium kettlebell, a set of loop bands, and a doorway pull‑up bar. With that setup you can run every session in this plan while saving travel time. The key is to use the same structure and intent you would bring to a gym.
Form fundamentals: cues you can remember
When you’re new, one clear cue per movement beats a paragraph of anatomy. Use these simple, repeatable cues to set positions you can maintain as the weight rises slowly.
- Squat: feet shoulder‑width, toes slightly out. Before descending, think “inhale, ribs down, sit between the heels.” Keep your knees tracking over your mid‑foot and your whole foot pressed to the floor.
- Hip hinge (deadlift/RDL): soft knees, then “hips back like you’re closing a car door.” Maintain a long spine. If you feel your low back rounding, slide your hips a little less and keep the bar or weights close to your legs.
- Horizontal press (push‑up, bench): “shoulders tucked to back pockets,” lightly squeeze your shoulder blades into the bench or your ribcage. Forearms vertical at the bottom; press through your whole hand.
- Horizontal pull (row): “pull elbows to back pockets,” not to your ears. Let shoulder blades move; think chest proud at the finish.
- Vertical press (overhead): “ribs down, butt tight, punch to the ceiling.” Finish with biceps near ears, not behind them.
- Vertical pull (pulldown/pull‑up): “reach tall, pull chest to the bar.” Don’t jerk; imagine dragging elbows to ribs.
- Core (planks/carries): “ribs down, zipper up.” Quiet breathing through the nose, steady pressure in your midsection.
Warm‑ups you’ll actually do
Warm up with a few easy sets of the main moves rather than a 20‑minute circuit. A productive warm‑up might be 2–3 minutes of light cardio, a couple of hip and shoulder mobility drills you like, and one light ramp‑up set for each first exercise. Save your energy for the work sets. If a joint feels cranky on a given day, insert one extra ramp‑up set with very light weight and use a slower tempo for the first work set.
Common form mistakes and quick fixes
- Knees collapsing in squats: imagine screwing your feet into the floor so knees track over toes.
- Rounded back in hinges: shorten range a bit, brace your midsection first, and drag the weights along your legs.
- Elbows flaring in presses: bring elbows 30–45 degrees from your torso to reduce shoulder strain.
- Rowing with the neck: keep shoulders away from ears and think “chest to handle.”
- Rushing reps: add a two‑second pause near the hardest position (e.g., just above the bottom of a squat) to restore control.
Full‑body vs splits: what suits the first 12 weeks
There are many correct ways to arrange training. For the first three months, full‑body sessions beat body‑part splits for most people. Why? You’ll practice each foundational pattern multiple times per week without overwhelming daily volume. That practice builds skill fast, and skill is the multiplier that makes small increases in load or reps productive instead of frustrating.
Choose full‑body if you want:
- Practice and consistency: frequent reps of the key lifts.
- Flexibility: if you miss a day, you still hit all patterns later that week.
- Simple scheduling: three sessions that look similar, with minor variations.
Choose an upper/lower split only if your schedule or preferences demand it, and keep the same movement balance per week (hinge, squat, push, pull, core). If you train four days, think two upper, two lower, still keeping volume per session reasonable so form stays crisp.
How to adapt if life chops a training week
If you only manage two sessions in a week, perform Session A and Session C, then resume the next week with Session B. If you have just one slot, do a condensed day: hinge + squat + push + pull, two sets each at moderate effort, and a short carry. The habit of touching the patterns matters more than a perfect weekly split.
Weeks 1–4: foundation phase (sample sessions)
The first month is about skill and consistency. You’ll use moderate loads, a controlled tempo, and stop each set with a rep or two “in the tank.” That effort leaves you fresh to return in two days and do it again—slightly better.
Session A (approx. 45–60 min)
- Goblet squat 3×8–10
- Romanian deadlift (dumbbell or bar) 3×8
- Dumbbell bench press 3×8–10
- One‑arm dumbbell row 3×10/side
- Plank 3×30–45 sec
Session B
- Split squat or reverse lunge 3×8/side
- Kettlebell deadlift or trap‑bar deadlift 3×6–8
- Overhead press (dumbbell or bar) 3×8
- Lat pulldown or assisted pull‑up 3×8–10
- Farmer carry 3×30–60 m
Session C
- Box squat or front squat 3×6–8
- Hip hinge variation (RDL or hip thrust) 3×8
- Push‑up (elevated if needed) 3×8–12
- Seated cable row or chest‑supported row 3×10
- Dead bug or side plank 3×8/side
Progression: in Weeks 1–2, choose loads that feel like you could do 2–3 extra reps with good form. In Weeks 3–4, add 2.5–5 lb per dumbbell or 5–10 lb on a bar when your last set still looks controlled. If a movement feels shaky, repeat last week’s loads and focus on cleaner reps rather than forcing an increase.
Foundation‑phase pro tips
- Use a metronome‑style tempo on the first set of squats and RDLs: three seconds down, one second up.
- Between sets, do brisk arm swings and a few deep breaths to stay warm without rushing.
- End each session with a short note: one thing that felt solid and one thing to refine next time.
Weeks 5–8: progression phase (load, reps, tempo)
Now you build on that foundation. You’ll keep the same skeleton of the workouts but gradually increase difficulty using three dials: load, total reps, and tempo control. You don’t need all three every week; choose the one that fits your session.
- Load: nudge weights up 2.5–5 lb on dumbbells or 5–10 lb on a barbell when last week’s top set was crisp.
- Reps: if load can’t increase (equipment limit), add one rep per set. For example, 3×8 becomes 3×9 this week.
- Tempo: slow the lowering phase to 3 seconds on squats, RDLs, presses, and rows. This builds control without changing weight.
Consider this “weekly rhythm” template:
- Week 5: small load bump on 2–3 main lifts. Keep reps the same.
- Week 6: hold load, add one rep to those lifts (e.g., 8→9).
- Week 7: keep Week‑6 reps, add 1–2 seconds of controlled lowering (eccentric) on the first set of each lift.
- Week 8: hold or slightly reduce load on the last set if you feel form slipping; finish the week clean to set up Weeks 9–12.
How to pick progressions when life stress is high
On weeks with poor sleep, heavy workloads, or travel, favor reps and tempo rather than heavier loading. Keeping the movement quality high under moderate weight preserves your groove and can still move the needle. Remember: showing up and doing practiced reps is forward progress.
Accessory choices that complement the main lifts
- Single‑leg work: add 2–3 sets of step‑ups or single‑leg RDLs after squats or hinges for balance and coordination.
- Shoulder care: light face pulls or band pull‑aparts between sets of pressing help reinforce good shoulder positions.
- Grip and carries: suitcase carries (one dumbbell) challenge your core and grip simultaneously.
Weeks 9–12: confidence phase (variations and options)
By now, you’ve learned the lifts, logged consistent sessions, and seen the numbers inch upward. The final four weeks reinforce that progress while adding variety on purpose. Variations help you practice the same pattern from a new angle, which can improve coordination and keep training interesting.
- Squat day twists: try paused squats (1–2 sec at the bottom) for 2 sets each week, then your normal sets. Pauses encourage balance and control without chasing heavier loads.
- Hinge day twists: alternate RDLs with conventional deadlifts or trap‑bar deadlifts at moderate loads. Focus on the bar staying close to you and a strong lockout (stand tall, don’t lean back).
- Press day twists: swap one bench day for push‑ups on a lower surface than before, or try a single‑arm dumbbell press to challenge stability.
- Pull day twists: progress from pulldowns to assisted pull‑ups, or add a brief controlled hold at the top of each row.
- Core finishers: mix planks, carries, and dead bugs; add small progressions like longer holds, slower tempo, or heavier carries.
How hard should it feel? Your last set of a main lift can approach a “one rep left” effort on good days, but most sets should feel like you could stop with a rep or two in reserve. That approach supports steady improvement and lowers the chance of form breaking down. If life stress or sleep dips, dial back to last week’s loads and collect clean reps rather than forcing the issue.
What to expect by Week 12
- More stable technique—squats and hinges feel more natural, shoulders feel steadier on presses and pulls.
- Noticeable increases in work capacity—more total reps per session at similar or slightly higher loads.
- Better self‑awareness—you can tell the difference between “I’m just tired” and “this rep is technically off,” and respond accordingly.
Optional deload or celebration week
At the end of Week 12 you can take a “lighter” week with loads reduced by 10–20% and one fewer set per exercise. Use it to solidify technique and decide next steps. Another option is a “celebration session” where you repeat your favorite workout from Week 1 and notice how much cleaner and stronger it feels.
Recovery, sleep, and nutrition basics for training
Recovery isn’t a luxury; it’s part of training. The work you do between sessions helps your body adapt to the stimulus you provide in the gym. Keep this short list in your training log next to sets and reps:
- Sleep: aim for a consistent bedtime and wake time most days. Many people feel better with 7–9 hours. More important than a single number is a routine that leaves you alert enough to move well in training.
- Walking and light movement: easy walking (10–30 minutes) on non‑lifting days keeps you loose and helps you arrive fresher for the next session.
- Protein habit: include a protein‑rich food in each main meal (eggs, fish, lean meats, tofu, legumes, yogurt). This can support recovery and help you feel satisfied. If you track nothing else, note whether each meal had a solid protein source.
- Hydration: keep water available. A simple check is light‑colored urine most of the day. Add a pinch of salt with meals if you sweat heavily and your healthcare provider says it fits your situation.
- Warm‑ups and cool‑downs: 2–3 light ramp‑up sets before a main lift and a 3–5 minute cool‑down walk after the session are enough for most beginners.
For soreness, think gentle circulation: walking, easy mobility work, or a light recovery circuit. Foam rolling and massage can feel good for some people. If specific pain or discomfort persists or worsens, consult a qualified professional who can evaluate your situation.
Simple meal pattern that supports training
Many beginners try to overhaul their whole diet overnight and then stall. A more practical approach is to anchor meals around a protein source, add a fist‑sized portion of fibrous vegetables, include a palm‑sized portion of carbohydrates around training sessions, and drizzle a thumb‑sized portion of fats for flavor. This pattern is flexible for many cuisines and can be repeated with minimal thought. If you’re hungry late at night, a light snack of yogurt and fruit or cottage cheese and berries often feels good and sits well before bed.
Managing energy across the week
- Place your most demanding session after your best‑sleep night.
- Schedule a calm walk or mobility session the day after a tougher hinge day.
- Keep caffeine earlier in the day so sleep quality stays high, supporting your next session.
Tracking progress and staying motivated
Progress is more than adding plates. In the first three months, skill is the most important currency. Track metrics that reflect skill and consistency so you see wins even when the scale or top set doesn’t move much.
- Consistency streaks: mark each completed session with a check. A three‑day program means 12 checks per month if you didn’t miss a week. That streak is a result.
- Reps at a given load: write “3×8 @ 20 lb” today, then aim for “3×9 @ 20 lb” next week before increasing load. That’s clear, measurable progress.
- Tempo control: note “3‑sec lowers” on squats or presses. Being able to maintain that under similar load is improvement.
- Form notes: 1–2 words per lift: “knees tracked,” “elbows to ribs,” “ribs down.” If you repeat these cues across weeks, you’ll feel yourself moving cleaner.
Using RIR to guide effort
RIR stands for “reps in reserve.” If you finish a set and feel you could do two more good reps, that’s roughly RIR 2. For this plan, most sets should live between RIR 2 and RIR 3. On days you feel fantastic, allow one main set to reach RIR 1. On days you feel drained, stick to RIR 3–4. This keeps training quality high while letting you adjust to real‑life energy levels.
Mini‑milestones to celebrate
- First session with all three main patterns completed calmly.
- First time adding a rep to every set of a lift in a single session.
- First week you complete all three sessions despite a busy schedule.
- First time you notice a daily task (carrying groceries, taking stairs) feeling easier.
Common roadblocks and when to seek qualified coaching
Every lifter meets friction. The trick is knowing which adjustments are safe and which require outside help.
- Time crunch: if you only have 30–40 minutes, perform the main lift for 4–5 sets and pick one upper and one lower accessory for 2–3 sets each. Skip the rest. Some work done well beats a perfect plan skipped.
- Equipment bottlenecks: if the rack is busy, use goblet squats or split squats. No cable station? One‑arm dumbbell rows or banded rows are fine. Keep the pattern; change the tool.
- Soreness vs. pain: mild next‑day muscle soreness is common when you add new work. Sharper or persistent discomfort that changes how you move is a signal to pause a pattern, reduce load, and—if it lingers—seek guidance from a qualified professional who can assess your condition.
- Form confusion: record a short clip of your lift from the side and from the front. Compare to a reputable coaching reference. If you can’t spot what to change, a session with a qualified coach can accelerate your learning.
- Travel: keep a short band, do bodyweight circuits in the hotel gym, and pick two patterns per day (e.g., squat + push one day, hinge + pull the next). Your goal is to maintain the habit, not set records.
How a coach can help in one or two sessions
A good coach can watch you move, give one or two targeted cues, and help you choose the right loads for your current skill. Many lifters find that a single in‑person session or a short video review clears up weeks of uncertainty. You’re still in charge of showing up; the coach simply shortens the learning curve.
At‑home alternatives and minimal‑equipment swaps
If you’re training in a living room with a pair of dumbbells and a resistance band, you can still cover all the patterns and make excellent progress. Keep the same session structure and swap in these options:
- Squat: goblet squat, tempo squat (3‑sec lowers), split squat, reverse lunge. Load progression: add reps, then add load when you can complete the top of the rep range with good form. Elevate the front foot for a deeper split squat when you feel ready.
- Hinge: dumbbell RDL, single‑leg RDL (light to start), banded hip hinge, kettlebell deadlift if you have one bell heavy enough to challenge you for 6–10 reps.
- Push: push‑ups on a bench or counter (make it lower over time), floor press with dumbbells, single‑arm dumbbell press (standing or half‑kneeling).
- Pull: one‑arm dumbbell row braced on a bench or table, band rows, doorframe or TRX rows if you have a suspension strap.
- Core: front plank, side plank, dead bug, suitcase carry with one dumbbell.
Space‑saving circuit ideas
When space is tight, alternate a lower‑body move with an upper‑body move to make good use of rest. Example: goblet squats for 8 reps, rest 60 seconds, one‑arm rows for 10/side, rest 60 seconds, repeat for 3–4 rounds. Then finish with a 5‑minute carry ladder: 20 m suitcase carry each side, rest, 30 m each side, rest, 40 m each side.
Swaps for common gym bottlenecks
- Barbell bench press busy? Do a dumbbell bench on a slight incline.
- No trap‑bar? Use kettlebell deadlifts with two bells between your feet.
- Cable row taken? Perform chest‑supported dumbbell rows on an inclined bench.
- Pulldown station crowded? Use band‑assisted pull‑ups or ring rows.
Maintenance after 12 weeks: building a lifelong practice
You’ve completed a quarter of a year of work. Now decide what to keep steady and what to explore. Keep the structure—three sessions, balanced patterns, small weekly progressions. Explore new variations one at a time so you can tell what changed.
Consider these next steps:
- Pick a focus block: choose one pattern for a 4‑week emphasis. Example: front squat twice per week (one heavier, one lighter) while maintaining other lifts. This keeps learning fresh without abandoning balance.
- Add a simple conditioning finisher once or twice per week: 5–10 minutes of cycling intervals (easy → moderate), a brisk walk outdoors, or a short kettlebell swing set with full rest between sets. Keep it short enough that it doesn’t compromise your next strength session.
- Refresh your log: switch to monthly pages with a summary line for each week: sessions completed, best set at a given load, any notes on recovery. Scanning these summaries shows patterns you might miss in daily entries.
- Set a skill goal: a strict push‑up on the floor, a clean set of five pull‑ups with assistance, a trap‑bar deadlift that feels smooth at a modestly higher load. Skill goals promote patience and quality work.
Simple frameworks for the long term
- 5‑3‑2 exposure: in a two‑week span, aim for five practice exposures to your weakest pattern, three exposures to your next weakest, and two exposures to your strongest. Rotate every few months.
- Plateau playbook: if a lift stalls for three sessions, change one variable (range of motion, grip/stance width, tempo) rather than forcing heavier weight.
- Seasonal planning: anchor your year around real‑life seasons—busier months emphasize maintenance and practice; calmer months invite small pushes in volume or load.
Glossary and quick answers
- RIR (reps in reserve): how many clean reps you could have done beyond what you performed.
- ROM (range of motion): how far a joint moves during the lift; quality ROM beats forced depth.
- Eccentric: the lowering phase of a lift, often used to build control.
- AMRAP set: “as many reps as possible” with good form; use sparingly in this beginner plan.
Finally, connect with a community. Share your wins and questions with a training partner, a local group class, or an online journal. If you want more structured reading and new ideas, browse the resources and articles on Sportstro for practical, no‑nonsense guidance you can apply immediately.